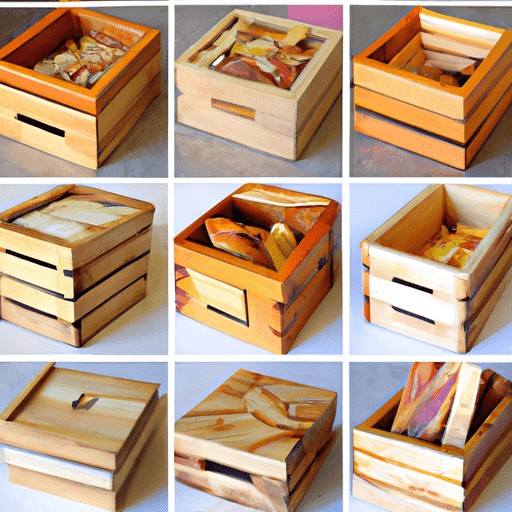
How to Create a Wooden Recipe Box
One of the most sought-after ways to store important recipes is by creating a wooden recipe box. This allows you to have a special place to store all of your recipes, be them used often or just for special occasions. Creating a handmade wooden box gives you the opportunity to style it in a way that is unique to you. Here are the simple steps to take to create your own wooden recipe box.
Materials Needed
- Wooden Box mold (size depends on your preference)
- Wood Glue
- Piece of Wood
- Medium-Grit Sandpaper
- Finishing Seals or Protective Coats
Instructions
- Cut your piece of wood to your desired size and shape.
- Using wood glue, attach the piece of wood to the wooden box mold.
- Let the glue dry completely.
- Using medium-grit sandpaper, lightly sand the wood.
- If desired, apply any finishing seals or protective coats.
- Your wooden recipe box is now ready for use!
Creating a wooden recipe box is an easy and cost-effective way to have an organized and creative place to store your recipes. There is an endless array of shapes, sizes and decorations you can use to fit your own style. Now you will have a beautiful, handmade, and personal wooden recipe box that you can be proud of.


